Read in Order

  1. Speed Listing Products
  2. Bulk Product Uploading & Listing
  3. Is a Barcode Scanner Necessary?
  4. Listing and Automatic Research Options
  5. Difference Between FNSKU Labels and SKU
  6. Adding Scouts to Your Custom SKU
  7. Submit Feed Process: building shipments on Seller Central
  8. Completing a Batch with Multiple Shipping Locations
  9. How to List and Pack Items as a Set
  10. Why Does the Mentioned Estimated Weight Seem Inaccurate?
  11. Listing Books Without ISBN Numbers
  12. Adding Missing Dimensions in Seller Central
  13. Listing a Product Directly in Seller Central
  14. Listing Replenishable Inventory
  15. Product Research
  16. Exporting Restricted or Gated Product Lists
  17. Interpreting Pricing Data
  18. Adding a Custom Research Button
  19. What Products Can be Listed on AccelerList?
  20. Do I Need an Amazon Professional Seller Account to Use AccelerList?
  21. Why isn't there a Visible Scrollbar Inside the App?
  22. Can Two Sellers List Inside AccelerList at the Same Time?
  23. Checking Your Feed Status on Completed Batches
  24. Checking for Restrictions
  25. Can I Change My SHIP FROM Address After I Completed a Batch
  26. Completing a Shipment in Seller Central After Submitting Your Batch
  27. Listing with Default or No Default Conditions
  28. Finding Products in a Batch
  29. Selecting a Default Condition
  30. Using Custom SKU Blocks or Tags
  31. Selecting Used Buy Box or New Buy Box Offers as Pricing Strategy
  32. How to Export Batch Data
  33. Submit Feed Process (Building Shipments on Seller Central)
  34. How to Return to a Batch from the Shipment Page
  35. How to Export an Inventory Loader File (ILF)
  36. Private Batch
  37. Expiration Dates
  38. Choose Your Workflow Type
  39. Duplicate ASINs in Batch
  40. Auto Expand to See SKU Detail
  41. Batch Analytics
  42. Expiration Date Product FAQ

Was this article helpful?

Selecting a Default Condition

In AccelerList we allow you to select a default condition for various reasons to help with your listing workflow. Some of those reasons could be:

  • You don't want to accidentally send in a product in New condition that you are not approved for
  • You want to set your condition default to speed up your scanning process

Navigate over to the Settings area and select your default condition setting under Listings Settings. Then create your batch and start listing with your default condition grade in place.

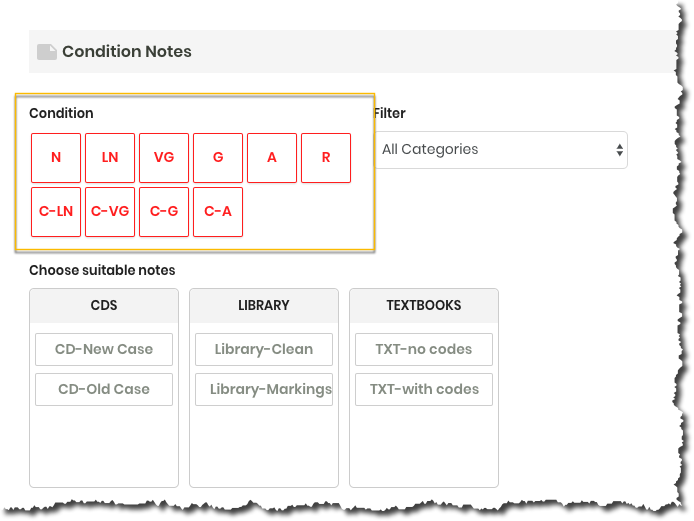
If you choose No Default as your selection then you will see red condition boxes when you list a product until you select a condition grade for the listing.


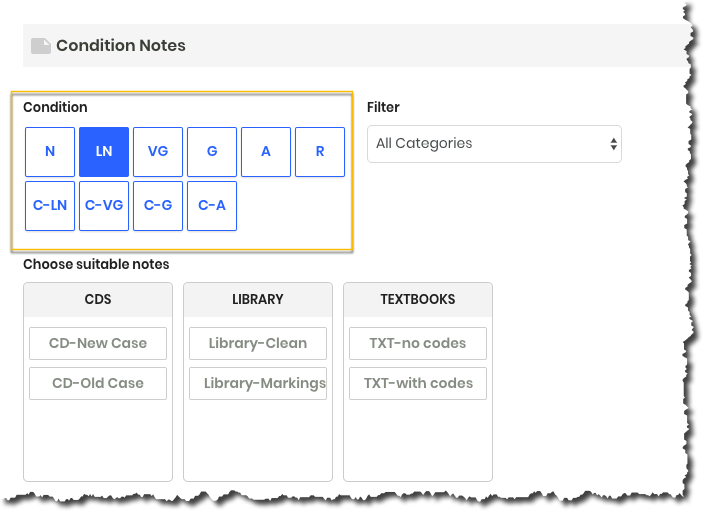
Once you have selected a condition grade for your product you will then see the condition blocks turn blue as a visual reminder that you have made a condition choice.


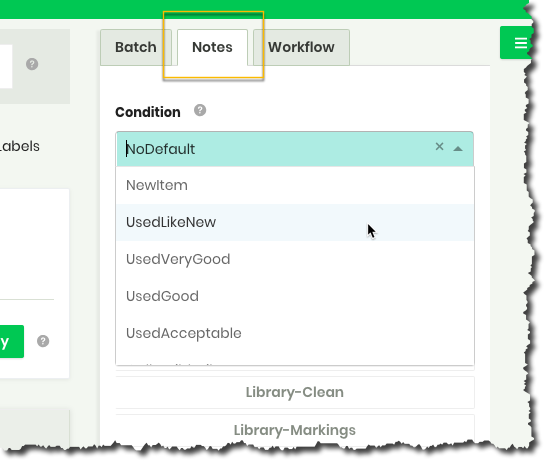
If you want to change your default condition "sku on the fly" or "inside the batch" only, you can do that by navigating to the notes tab of the right side of the listing screen. If you change your condition grade there, it will only affect the current batch you are working on and not new batches.


Can’t find what you’re looking for?

Our award-winning customer care team is here for you.

Contact Support