We've recently added Rollo as an option to print labels in connection with our custom printing solution called AccelerPrint.
To setup Rollo printer on your Mac, kindly follow the steps as shared below:
1.Download the Rollo Driver
You can download the driver for a Mac device from this link.
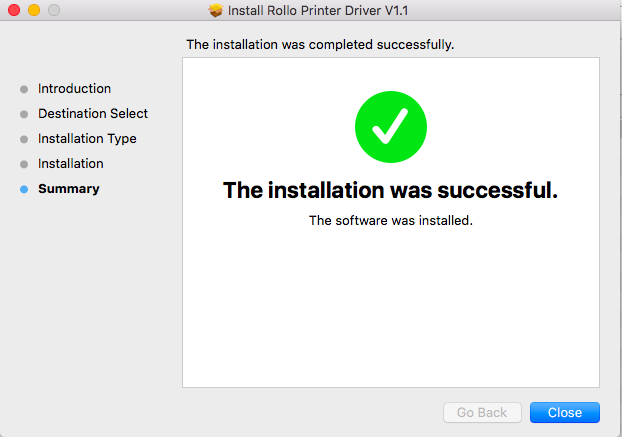
2.Open the downloaded DMG file
Open the downloaded DMG file and follow the steps to ensure that the installation is completed successfully.
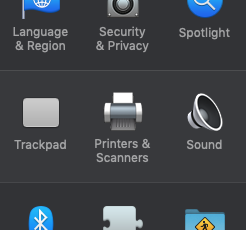
3.Go to 'System Preferences'
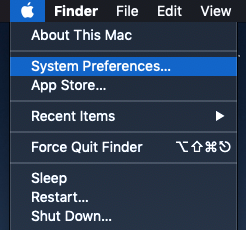
& click on 'Printers and Scanners':
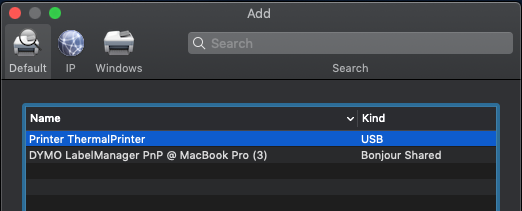
4.On this pop-up, click the + button under the Printers window.
From the drop-down, click Add Printer or Scanner...

The Rollo printer shall be visible as 'Printer Thermal Printer'. Select this option from the list.
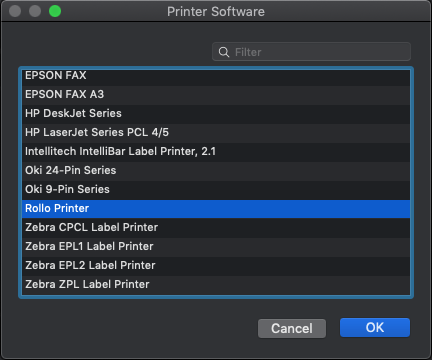
5. From the drop-down, click 'Select Software'
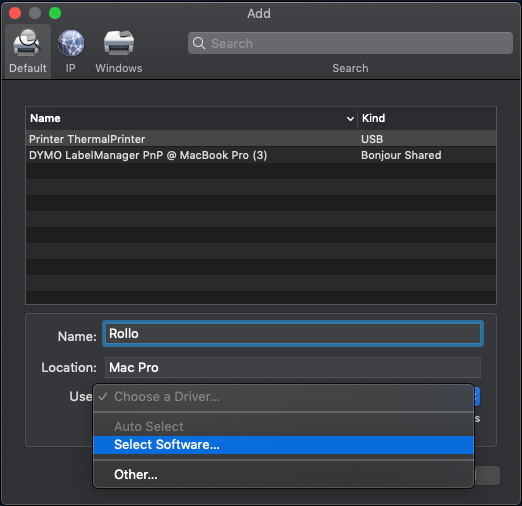
Select 'Rollo Printer' & Click 'OK'
The above steps should help you successfully set up a Rollo Printer.