We've recently added Rollo as an option to print labels in connection with our custom printing solution called AccelerPrint
The steps to setup Rollo for Windows are as follows:
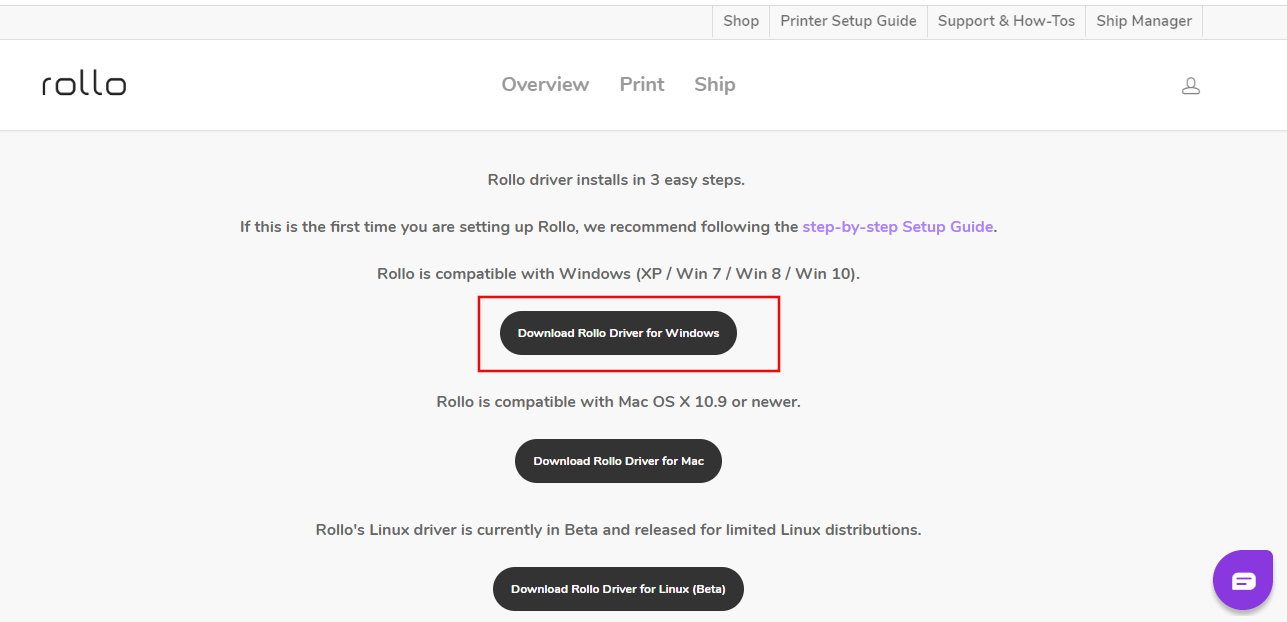
- 1.Download the Rollo Driver for Windows here:
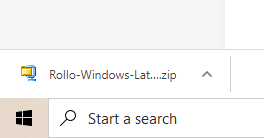
- 2.Once the file 'Rollo-Windows-Latest.zip' is download, click on it to initiate installation:
- 3.Follow the Installer Steps. Once you see 'Finish' as in the image below, you've completed the installation:

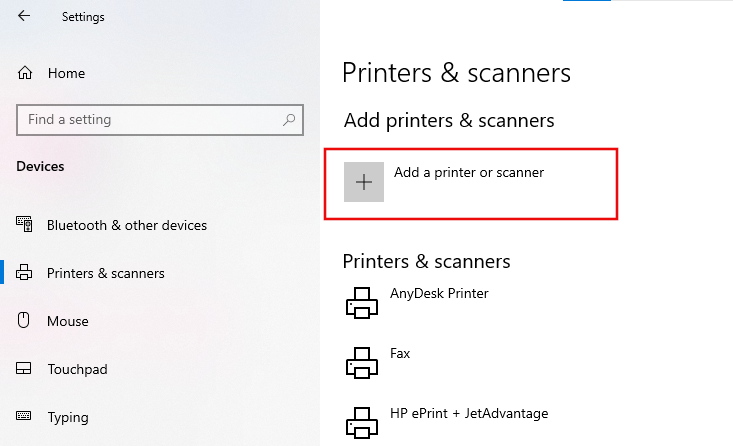
- 4.Navigate to your computer's Control Panel, and View Devices and Printers section. Here, click 'Add a Printer' and select your Rollo printer from the list of connected printers that appears.
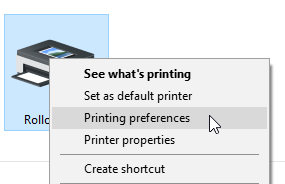
- 5. Once you've added Rollo, right click on it and choose Printing Preferences.
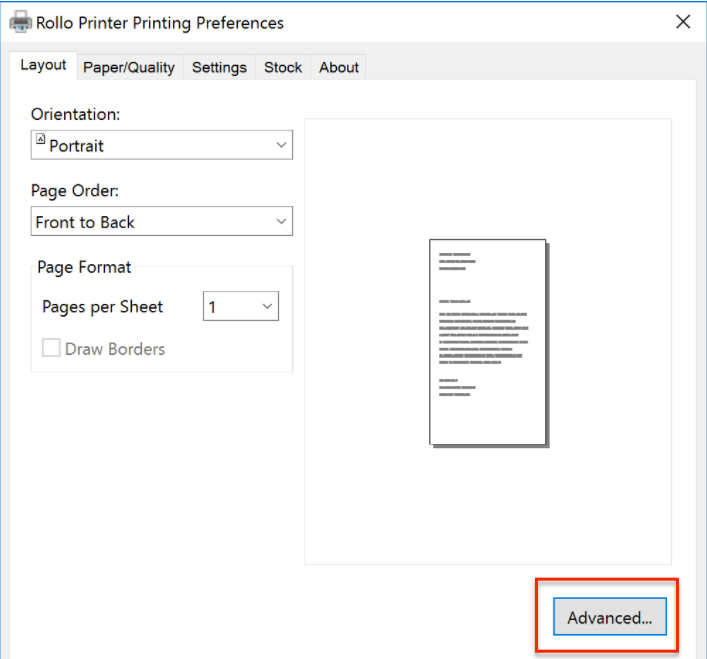
On the pop-up page, Click Advanced on the lower right-hand side of the Printing Preferences.
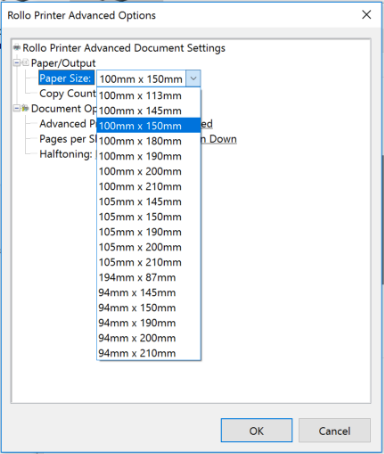
- 6.Select the preferred size on the Paper Size section. Ex: 100mm x 150mm
Click OK and your labels are ready to print labels using AccelerPrint
Note: If while connecting the printer shows up as USB Printing Support under Unspecified, and the driver won't install, disconnect the printer, restart your computer, then reconnect the printer. It should now show up as Rollo Printer.