Installing Zebra printers on MAC computers is now pretty simple and you can be up and running in a few minutes.
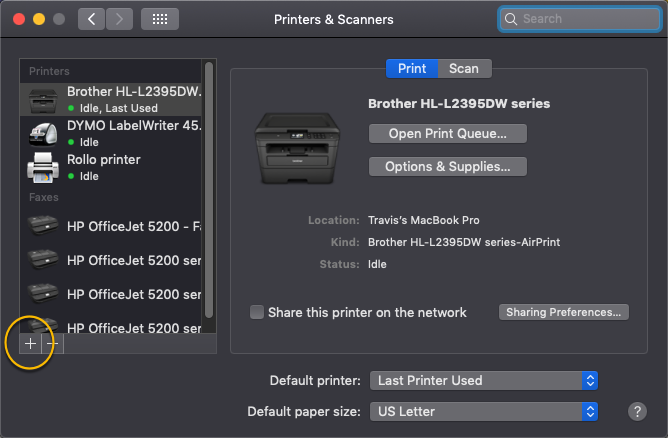
- 1. Start by navigating to your settings area of your MAC and find the printers and scanners icon

- 2. Next you will click on the + symbol and your MAC will locate the Zebra printer you already have plugged in
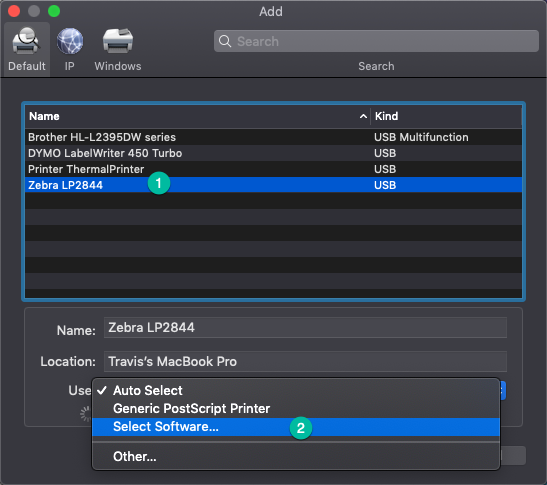
- 3. Find your Zebra printer model and click to select it

- 4. Next you will need to click the Select Software drop down to find and select the right driver software.
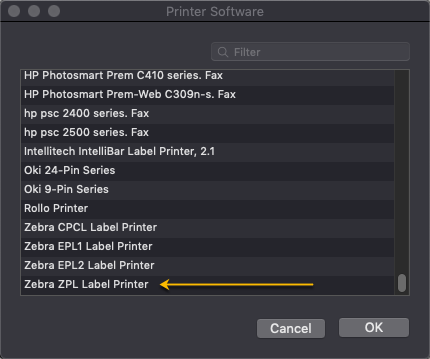
- 5. Scroll all the way to the bottom and select the Zebra ZPL Label Printer option
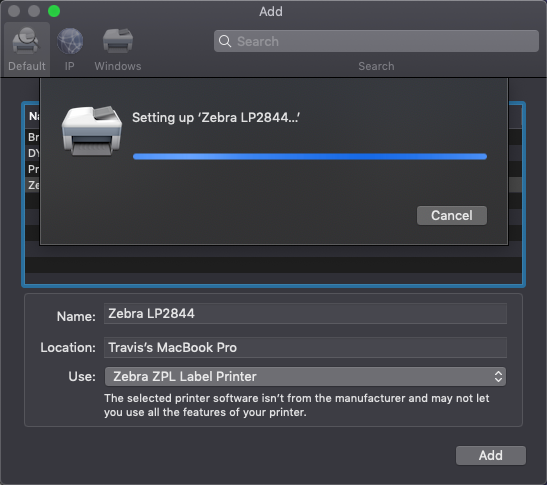
- 6. Finally, you will click the ADD button, wait for install and then you are ready to print with Profit Print™ or AccelerPrint™